- Turf
- Artificial
- Soil
- Timber
- Composite Decking
- Paving & Stone
Get In Touch With Our Experts Today!
Give us a Call! - Seed & Fertiliser
- Dressing
- Bark

November 13, 2024
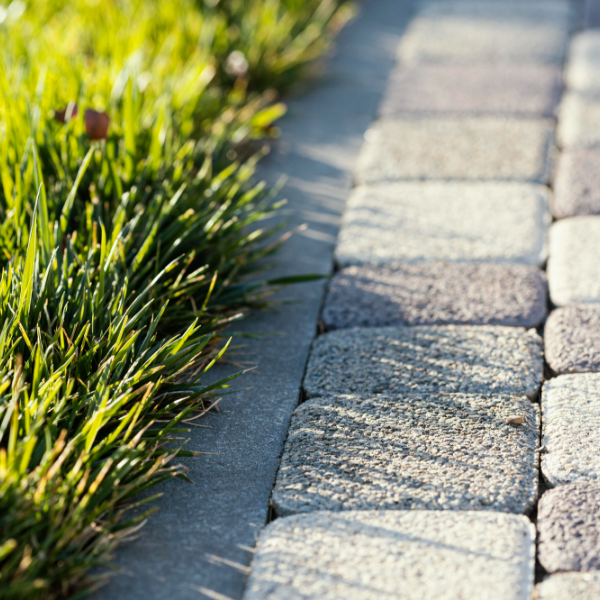
Cobbled setts are a popular choice for landscapers, garden designers and homeowners, and we can see why! Whether you’re looking for impressive ground cover or decorative detailing, cobble setts are incredibly versatile. They’re also easy to install as long as you have the right equipment. Our step-by-step guide covers everything you need to know about laying cobbled setts, including:
Cobble setts are not only aesthetically pleasing but also incredibly strong, withstanding heavy weight and making them ideal for areas such as driveways. Depending on the effect you’re aiming to achieve, we offer a range of cobble setts, to enhance your landscaping project.
From cobbled driveways and patios to decorative detailing around ponds, water features or flowerbeds, you need to know where you’re setting your cobbles. You can use string or spray paint to mark the size and shape of the area you need to clear and prep. Wherever you choose to install your cobble setts, make sure there’s adequate drainage, preferably sloping away from nearby buildings or structures.
First, remove any existing turf, decorative stone, paving or concrete. Once this top layer is clear, you’ll need to dig to around 230mm deep. Once you reach this depth, weed the area and clear it of any debris or large stones. Rake over the area to create a smooth, even surface.
Strengthen any soft spots in the ground by compacting more sub-base over them. If cobbles are being used for areas withstanding heavy weight, such as driveways, you will need to dig deeper to include an additional sub-base and bedding layer.
If you’re installing cobbles near a building, ensure the tops are 150mm below the damp proof course line. You’ll also require a fall for drainage.
Once you’re confident the area is level, use a plate compactor to compact and strengthen the earth. This creates a strong foundation for your sub-base, mortar and cobbles. You may have to do this a couple of times, but it is an essential part of the process.
The sub-base comprises angular gravel and crushed stone to reinforce the foundation and aid with water drainage.
When laying cobble setts, you’ll want to add two layers of sub-base. The first layer should be about 75mm thick and compacted into place to create a firm surface—you can use the plate compactor to achieve this. You can then add a second layer, again at 75mm.
To create mortar for your cobbled setts, you’ll need to mix three parts of building sand with one part cement and one part water. You’re aiming for a wet consistency that isn’t too runny but easy to handle.
Unlike paving slabs, where you layer enough mortar for each slab, with cobble setts, you’ll want to thickly spread about 30mm of mortar across your prepared area. With large areas, we recommend doing this in sections, as the mortar will start to dry after two hours.
Starting from the top corner, place your cobbles in your chosen pattern, with an 8 to 15mm gap between each one — this can vary depending on the result you’re looking for and the cut of your cobbles. For a uniform finish, use a string line from one edge to the other to keep your cobbles inline and evenly spaced.
Due to their size, installing cobbles must be done by hand to ensure they’re placed in the correct position. Set your cobbles at a 50mm depth and use a rubber mallet to gently tap them into the mortar and a spirit level to maintain an even surface.
Once all your cobbles are in place, sweep away any excess mortar with a broom. To fill the gaps, you have two options:
Both methods provide a sturdy, clean finish for your cobbles.
We recommend leaving your cobbled setts for 24 to 48 hours for the mortar to dry thoroughly. If you need to walk across your cobbles, use a wooden board to bear the weight and avoid muddy footprints on your lovely new cobbles. If the weather forecast shows rain, cover your cobbles while they’re still drying.
You can order your cobbled setts right here at George Davies or visit our St. Albans depot to see our cobbles in situ. If you have any questions, you can also contact our helpful customer services team, who are on hand to answer any of your stone or turf queries.
CALL US NOW ON 01234 818 253