How to Lay Porcelain Slabs

Help
Calculators

info@georgedaviesturf.co.uk

Bedford 01234 714 555
St Albans 01727 821 765

How to Lay Porcelain Slabs

January 08, 2025     

Porcelain paving is quickly becoming a popular choice for landscaping gardens and open spaces. Offering all the aesthetic advantages of natural stone but without the need to seal each slab. Making them a low-maintenance solution to transform and modernise your garden.   

In this article, we’ve pulled together hints and tips from our stone and landscaping experts to lay the perfect porcelain patio. As well as the equipment and materials you’ll need to easily and effectively lay porcelain slabs. Whether you’re laying a patio or pathway, the process remains the same: ground preparation, sub-base, mortar, primer, slabs and joining compound – it’s that simple! 


What Should Porcelain Slabs Be Laid On?

Like other stone paving, porcelain slabs require strong, sturdy and even surfaces. A sand base is ideal for porcelain slabs as it evenly distributes the weight and helps with drainage. However, sand bases will require a layer of mortar and a bonding agent for porcelain. You can also lay porcelain on a concrete surface, but if the concrete cracks, you run the risk of it impacting your porcelain paving.  


What you’ll need for laying porcelain paving slabs:


Tools you’ll need for laying porcelain paving slabs:

  • Wheelbarrow 
  • Tape measure 
  • Shovel 
  • Rubber mallet 
  • String Line 
  • Broom 
  • Spirit Level 
  • Pointing trowel 
  • Protective clothing – gloves, shoes, mask and goggles. 


Our Step-By-Step Guide for Laying Porcelain Paving

  1. Measure the area
    Start by measuring the length and width of the area you are paving. Next, multiply the length by the width to calculate the size of the area in square metres. This will help determine how many paving slabs you will require, along with the amount of cement, mortar, sand and jointing compound.
  2. Mark out the area
    You can use spray paint or stakes and string to mark the area – this will help ensure you keep the shape of your patio, path, etc., without wasting any slabs by paving too far. Clear the area by removing any turf, vegetation, weeds, roots, and topsoil before moving to the next step.
  3. Check the drainage
    You’ll want to dig about 150-200mm below the ground’s surface – you should dig deep enough for a layer of subbase (Step 4), plus the depth of your paving slabs so the top of your slabs remains level with the ground’s surface. Rake over the area, and at this point, it’s important to check that there’s a gradient slope for sufficient drainage.
  4. Layer your sub-base
    Sub-base can consist of gravel or sharp sand and should be about 100-150mm deep. Once covered, use a plate compactor to compress and level it. You can also do this by hand, which is sometimes easier for smaller areas. When compressing, you want to ensure no gaps or loose material.
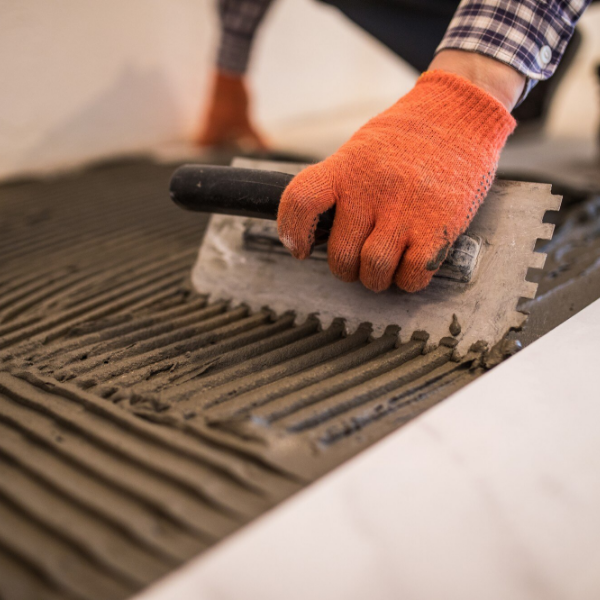
  5. Add your mortar
    To create your mortar, mix four parts of sand with one part of cement. You may prefer to use a cement mixer for large areas, but for smaller areas, a wheelbarrow and spade should do the trick. Add a layer of mortar on top of your subbase, around 40-50mm deep. This is an important step in creating a solid and sturdy foundation. It will also keep your slabs in place and prevent them from cracking.
  6. Apply a primer
    Because porcelain is non-porous, it may not stick to mortar like other paving stones. Adding a layer of primer slurry (EasyPrime) to the back of the paving slabs acts as a bonding agent between the mortar and porcelain to keep your slabs in place.
  7. Lay your porcelain slabs
    Once you’ve applied the primer, lay your slab onto the mortar and use a rubber mallet to gently tap it into place. Start in one corner and use your spirit level to keep the slab even. Repeat with the rest of your slabs, using spacers to measure a consistent joint gap. Avoid standing on the newly laid slabs and clean up any excess primer or mortar along the way.
  8. Fill the joints
    Azpect EasyJoint is an all-weather joint compound that is easy to use. With its simple sweep-in method, it is the quickest way to grout your paving – filling the gaps with a professional finish and securing your slabs in place. Use a pointing trowel and gently press down to score your joints. Allow 48 hours for the compound to set. If rain is forecast, cover your paving as rain can delay the setting process.
  9. Let them set
    We recommend leaving your porcelain slabs at least 24 hours after laying, allowing them to settle in fully. Avoid walking on them (including pets), and if bad weather is forecast, cover your paving slabs.  


Why Choose Porcelain Slabs?

The biggest appeal for porcelain slabs is that they fit perfectly with contemporary gardens and modern lifestyles. With gardens becoming smaller and life becoming busier, the need for low-maintenance gardens is a must. Enter porcelain paving – the easy-to-lay and clean and highly stylish solution to landscaping your garden. Read our latest blog for all the benefits of incorporating porcelain paving into your landscaping. 
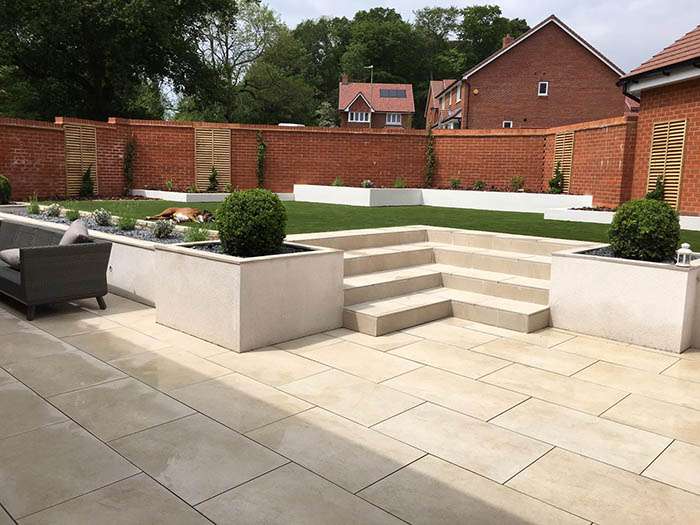
Porcelain Paving Near You

Ordering your porcelain paving couldn’t be easier with George Davies! You can either order directly from our website or call our customer service team to place your order and book the best delivery date for you. You can also head to our Olney or St Albans branch to view our stone products on display. Our stone specialists will be on hand to help and answer any of your questions.  


View Our Stone Range 

Check out our wide range of products

Find out more